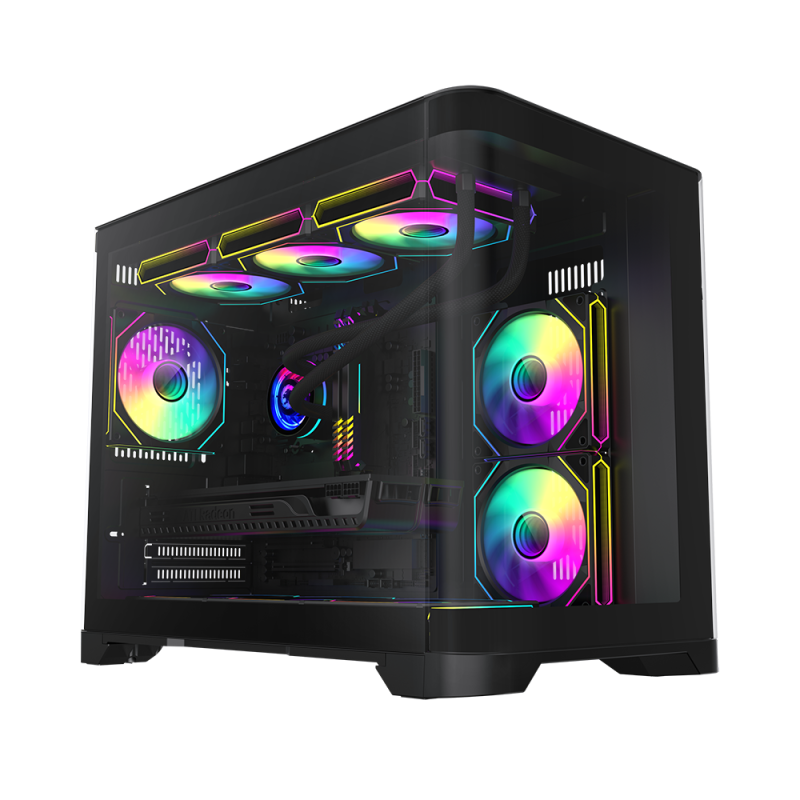
Installing a liquid CPU cooler may seem daunting, but with the right approach, it can be a straightforward process. This guide will walk you through the steps to install a liquid CPU cooler safely and effectively, ensuring optimal performance for your computer.
A liquid CPU cooler uses a closed-loop system to dissipate heat from the CPU. It consists of a water block (which attaches to the CPU), a pump, tubes, and a radiator with fans. Liquid coolers are known for their efficient cooling capabilities and quieter operation compared to traditional air coolers.

Superior Cooling: Liquid coolers provide better heat dissipation, making them ideal for high-performance CPUs, especially when overclocking.
Quieter Operation: They often run quieter because the fans can operate at lower speeds.
Aesthetic Appeal: Many liquid coolers come with customizable RGB lighting, enhancing your PC’s look.
Before you start, gather the following tools and materials:
Liquid CPU cooler
Thermal paste (if not pre-applied)
Screwdriver (usually a Phillips-head)
Anti-static wrist strap (optional, but recommended)
Soft cloth or paper towels
Turn Off Your PC: Ensure your computer is completely powered down and unplugged.
Ground Yourself: Use an anti-static wrist strap or touch a grounded metal object to prevent static electricity from damaging your components.
Disconnect Cables: Unplug any fans or cables connected to the old cooler.
Unscrew the Old Cooler: Carefully remove screws or clips holding the cooler in place. Gently twist to break the seal of thermal paste, and lift it off.
Clean the CPU: Use isopropyl alcohol and a soft cloth to remove old thermal paste from the CPU surface.
Attach the Water Block:
If your cooler doesn’t have pre-applied thermal paste, apply a small pea-sized amount of thermal paste to the center of the CPU.
Place the water block over the CPU, aligning it with the mounting brackets.
Secure the Water Block:
Follow the manufacturer’s instructions to secure the water block. This usually involves tightening screws or using brackets to hold it in place. Be careful not to overtighten.
Choose a Mounting Location: Determine where you will mount the radiator. Common locations are the top or front of the case.
Attach Fans to the Radiator:
If your cooler has separate fans, attach them to the radiator, ensuring the airflow direction aligns with your case's airflow design.
Use screws to secure the fans to the radiator.
Mount the Radiator:
Position the radiator in your chosen location and secure it using screws. Ensure it’s mounted firmly and won’t rattle.
Connect the Pump: Plug the pump’s power cable into the appropriate header on your motherboard, usually labeled CPU_FAN or AIO_PUMP.
Connect the Fans: If your cooler has RGB lighting, connect the RGB cables to the motherboard or a controller. Also, connect the fan cables to the appropriate headers.
Before you power on your PC, check all connections:
Ensure the water block is secure.
Confirm that the pump and fans are connected properly.
Verify that the radiator is mounted correctly.
Reconnect Power: Plug your PC back in and turn it on.
Monitor Temperatures: Once booted, use monitoring software (like HWMonitor or your motherboard’s software) to check CPU temperatures. Ensure they are within normal ranges.

Compatibility: Make sure your liquid cooler is compatible with your CPU socket type and your case’s size.
Regular Maintenance: Check the cooler periodically for dust buildup on the radiator and fans. Clean as needed to maintain optimal airflow.
Leak Testing: After installation, watch for any signs of leaks during the first few days of operation. If you notice any, turn off the system immediately and address the issue.
Installing a liquid CPU cooler can greatly enhance your system's cooling performance and aesthetics. By following these steps and taking necessary precautions, you can ensure a successful installation. Remember to monitor your system's temperatures regularly to enjoy the full benefits of your new cooler.