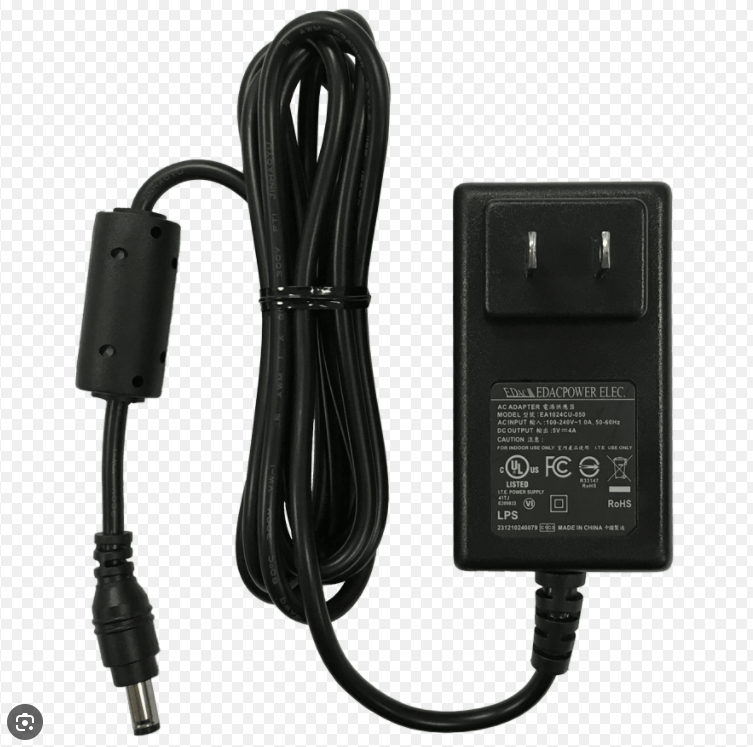
AC to DC power supplies are integral to nearly every modern electronic device—from routers and security cameras to industrial PLCs and medical equipment. While these devices are designed for reliability, issues can arise due to electrical noise, overheating, component aging, or improper use. Diagnosing and resolving power supply problems quickly is essential to maintaining system uptime and equipment longevity.
This guide outlines the most common AC to DC power supply issues and offers practical troubleshooting steps for identifying and fixing them.

Device does not power on
Multimeter reads 0V at the output
Power indicator LED (if present) is off
Blown internal fuse
No AC input or loose connection
Internal component failure (e.g., capacitor or switching transistor)
Verify the AC power source and plug connection
Test the input fuse with a continuity meter
Inspect the power supply for visible damage or burnt smells
If fuse is blown, replace it once; if it blows again, internal short likely exists
Device behaves erratically
Voltage dips below expected value
Flickering LEDs or display screens
Load current exceeds rated output
Electrolytic capacitor degradation
Poor ventilation causing thermal derating
Measure output voltage under no-load and full-load conditions
Reduce the load and observe voltage stability
Check for bulging or leaking capacitors
Ensure proper airflow around the power supply unit
Power supply gets hot to the touch
Shuts down after a few minutes
Intermittent power loss
Operating near or beyond maximum rated load
Insufficient cooling or ventilation
Dust accumulation inside enclosure
Internal fan failure (if present)
Measure load current and compare with rated current
Clean vents or internal components if dusty
Add heatsinks or external fans if necessary
Replace failing internal fan
High-pitched whine or electrical hum
Audible under load or idle
Coil whine from inductors or transformers
Capacitor resonance
Poor board layout (in lower-end models)
Determine if sound comes under load only
Isolate whether the noise is affecting performance
If unbearable, replace the unit or choose a model with better EMI control
Devices turn on and off irregularly
Output voltage fluctuates suddenly
LEDs flash unpredictably
Loose terminal connections
Intermittent short circuit at load end
Cracked solder joints
Wiggle output wires and observe behavior
Use an oscilloscope or multimeter with min/max function to detect spikes
Re-solder loose joints or replace worn connectors
Power supply won’t turn on after fuse replacement
Sparks or pop sounds on plugging in
Shorted output or internal switching components
Faulty diode bridge
Damaged MOV (Metal Oxide Varistor)
Disconnect the load and try again
Inspect the internal PCB for damage
Test bridge rectifier and switching transistors
Replace the unit if damage is extensive
Functions with low-power devices, fails with high-power loads
Sudden shutdown on connecting new equipment
Inrush current exceeds capability
Output voltage not compatible
Current protection limiting activation
Verify output voltage matches device specs
Check current draw of the connected device
Use a higher-capacity power supply or soft-start circuitry for large capacitive loads
Having the following tools on hand can greatly improve your troubleshooting efficiency:
Digital multimeter (with continuity and min/max)
Oscilloscope (for advanced waveform analysis)
IR thermometer or thermal camera
Load tester or adjustable dummy load
Isolation transformer (for safe bench testing)
AC to DC power supplies may seem like black boxes, but most issues stem from predictable patterns—overload, heat, wear, or improper configuration. By understanding the root causes and taking a methodical approach to diagnosis, many problems can be resolved without replacing the entire unit.
If the power supply is inexpensive or sealed, replacement is often more cost-effective than repair. However, for industrial or high-reliability systems, preventative maintenance and timely repairs can greatly reduce downtime and long-term cost.
Always remember: A stable power source is the foundation of every reliable system—treat it with the attention it deserves.