

When building or upgrading a PC, one of the most important factors to consider is cooling. A well-placed and properly installed fan system can significantly improve your system’s performance, prolong the lifespan of your components, and ensure your machine operates at optimal temperatures. However, to achieve these benefits, it's essential to install your PC case fans correctly, ensuring proper airflow and cooling efficiency.
This article provides a detailed guide on how to install case fans in your PC. We’ll cover everything from determining the airflow direction to selecting the correct installation position, so you can optimize your cooling setup for maximum performance and longevity.
Before diving into the installation process, it’s important to understand the role that case fans play in cooling your PC. Case fans are designed to move air in and out of the PC case, expelling hot air from inside the case and drawing cool air in. Proper airflow is essential for preventing overheating of components like the CPU, GPU, and power supply.
The key to an effective cooling system is creating a balanced airflow pattern, ensuring that cool air is drawn into the case and that hot air is efficiently exhausted out. This is where the direction of your fans and their placement in the case becomes crucial.
When installing your case fans, there are several important considerations that will directly impact your cooling performance:
One of the most critical factors when installing fans is determining the direction in which the fan will move air. Fans are generally categorized into two types:
Intake Fans: These fans pull air into the case to supply cool air for components such as the CPU and GPU.
Exhaust Fans: These fans expel hot air from inside the case, helping to maintain a stable internal temperature.
How to Determine Fan Direction:
Most fans have arrows on their frames that indicate the direction of airflow. If the fan doesn’t have an obvious arrow, you can test its direction by briefly powering on the fan and feeling which side of the fan blows air. The side that blows air is the exhaust side, while the opposite side is the intake.
When setting up airflow, consider the front-to-back airflow principle, which is the most common and efficient configuration. This involves installing intake fans at the front of the case (to bring cool air in) and exhaust fans at the rear or top (to expel hot air).

In addition to the number and placement of fans, the overall pressure inside the case plays a significant role in cooling performance. The terms "positive pressure" and "negative pressure" refer to the balance between the intake and exhaust fans.
Positive Pressure: This occurs when there are more intake fans than exhaust fans, causing a slight positive airflow that pushes air out of the case. This setup can help keep dust out, but it might reduce the efficiency of cooling if airflow is restricted.
Negative Pressure: This occurs when there are more exhaust fans than intake fans, which can improve cooling efficiency by creating a stronger airflow to expel hot air. However, negative pressure can lead to dust accumulation as the case tries to draw air in from any available opening.
Generally, positive pressure is easier to maintain and is preferable for keeping dust out, but if cooling performance is a priority (such as in overclocking setups), negative pressure may be the better choice.
Now that you have a better understanding of airflow direction and pressure, let's dive into fan placement. Where you place your fans can make a significant impact on your system's cooling capabilities.
Placing fans at the front of the case ensures that cool air is drawn into the case. This is typically where you’ll install your intake fans. These fans are crucial because they provide the airflow needed to cool your CPU, GPU, and other components.
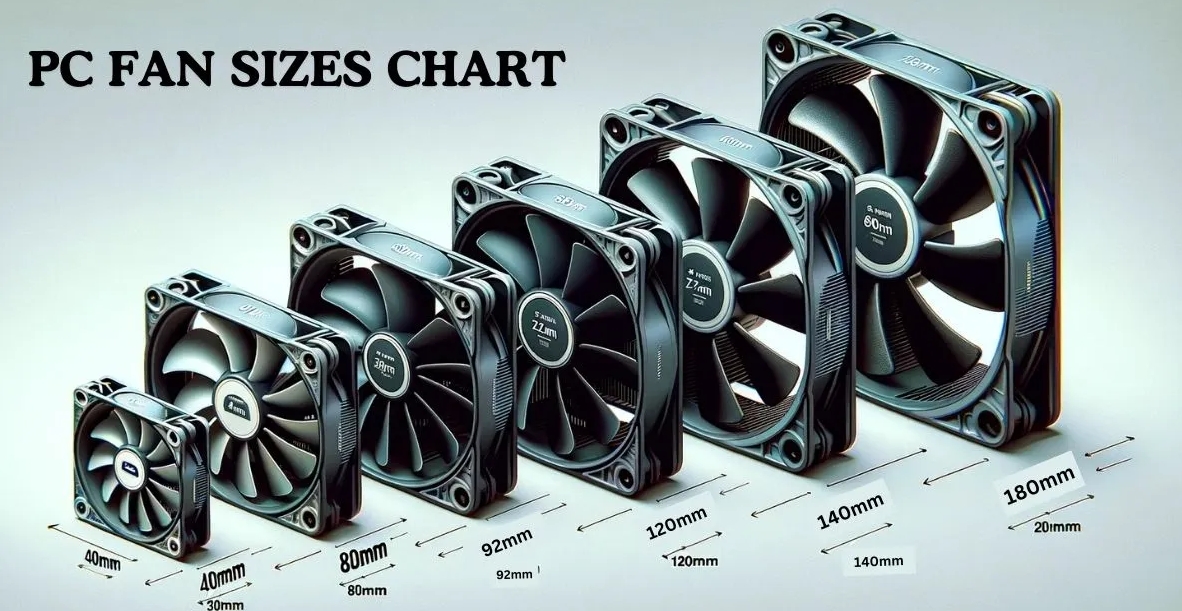
How Many Fans: Many modern cases support up to two or three 120mm or 140mm fans at the front. If you have a high-performance GPU, you may want to use multiple front fans to improve cooling.
Fan Placement: Fans should be mounted in the front panel, with the intake side facing the interior of the case. Ensure that the fans are unobstructed by cables or drive cages, as airflow can be restricted.
The rear of the case is typically where the exhaust fan is installed. This fan is responsible for expelling hot air from inside the case and is positioned directly behind the CPU and GPU, where heat is concentrated.
How Many Fans: Usually, a single exhaust fan is sufficient at the rear, especially for standard gaming or workstation setups.
Fan Placement: Install the fan with the exhaust side facing the rear of the case. This will ensure that hot air is efficiently expelled.
Installing fans at the top of the case is particularly useful for expelling the hot air that rises naturally. This is essential for ensuring that hot air doesn’t linger at the top of the case, as components like the CPU and GPU release substantial heat.
How Many Fans: Most cases allow for one or two top-mounted fans, typically in 120mm or 140mm sizes.
Fan Placement: The fan should be installed with the exhaust side facing upward to ensure that heat escapes through the top of the case. Installing fans at the top can help reduce overall internal temperatures.
Some cases come with bottom fan mounts, which can either be used as intake or exhaust, depending on your cooling requirements. Bottom fans help cool components like the power supply unit (PSU) and provide additional airflow.
Fan Placement: If using bottom fans as intake, ensure that there is enough clearance between the fans and the surface the case sits on. If using bottom fans as exhaust, place the fan to expel hot air from beneath the case.
To ensure your fan setup performs at its best, here are a few additional tips to consider during installation:
Proper cable management is essential for maintaining good airflow within the case. Ensure that cables are neatly routed and do not block fan airflow. Use cable ties or Velcro straps to keep cables organized and out of the way.
When installing fans, consider using dust filters, especially on intake fans. Dust buildup inside the case can reduce airflow efficiency and negatively impact cooling performance. Many cases come with removable dust filters that can be placed over intake areas such as the front, bottom, and top.
If your case fans support PWM (pulse-width modulation) control, consider connecting them to your motherboard or a fan controller. This allows you to adjust the fan speeds based on temperature, providing a quieter experience when cooling demand is low and higher performance when the system is under load.
Before finalizing the fan installation, double-check for any obstructions that could impede airflow. Ensure that there is enough space for air to flow freely around each fan and that no other components are blocking the airflow path.
Properly installing your PC case fans is essential for ensuring your system stays cool and performs at its best. By understanding airflow direction, fan placement, and pressure configurations, you can create an efficient cooling setup that keeps your components at safe operating temperatures.
Remember to consider fan placement, airflow patterns, and other cooling methods such as dust filters and cable management. A well-cooled PC not only performs better but also ensures the longevity of your hardware. Whether you're building a high-end gaming rig, a workstation, or a basic home PC, proper fan installation will make a significant difference in the overall performance and stability of your system.
By following the tips and guidelines in this article, you'll be able to make informed decisions about your fan installation and achieve optimal cooling performance for your PC.

