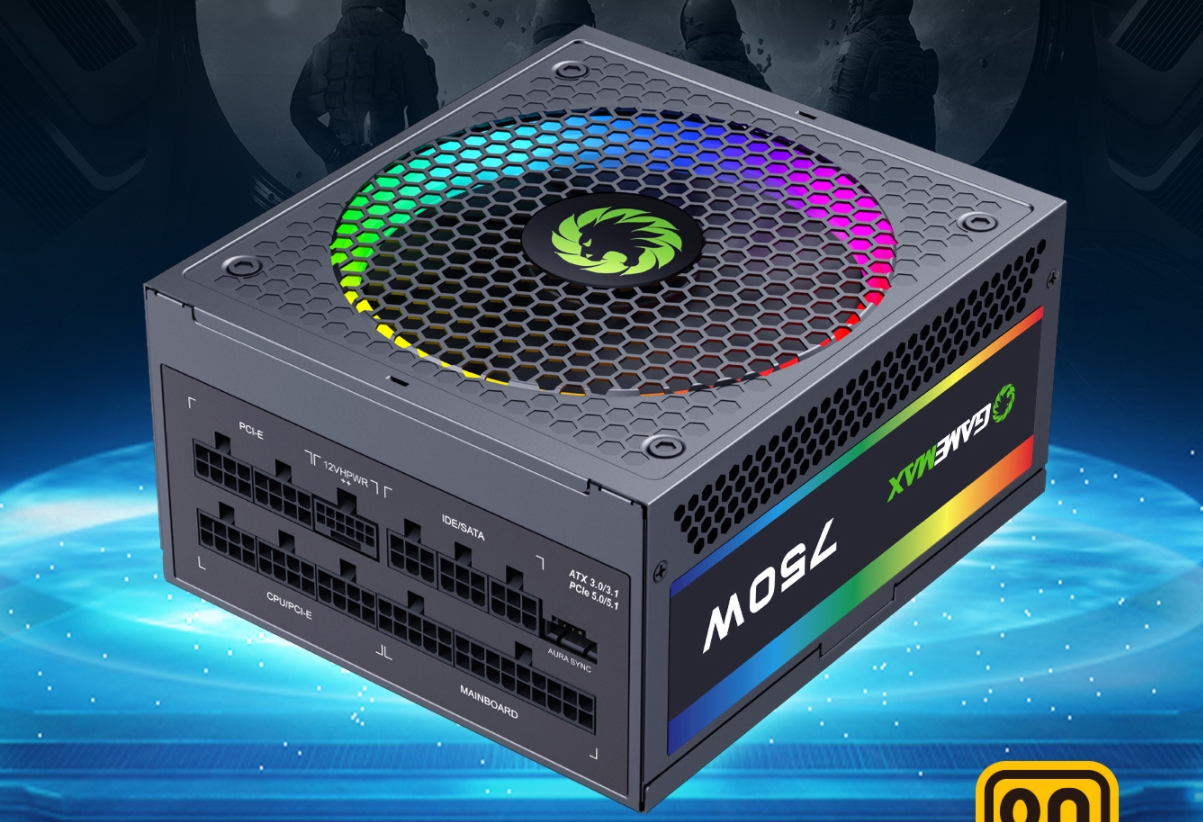
In today's modern life, devices like computers and servers have become indispensable tools for our work and entertainment. The power supply, acting as the "heart" of these devices, is crucial for their proper operation. Have you noticed that after some time, a thick layer of dust often accumulates around the power supply fan? This seemingly insignificant dust can actually have a significant impact on the performance and lifespan of the power supply and even the entire device. So, does the power supply fan need dust cleaning? And how can you safely clean it? Let's dive into the details.
The primary role of the power supply fan is to dissipate heat from the internal electronic components, ensuring they operate at an optimal temperature. As the fan runs continuously, it generates suction that pulls in dust from the surrounding air, which then settles on the fan blades, heat sinks, and inside the power supply. Over time, this dust buildup forms a thick layer on the fan blades, increasing rotational resistance and causing the fan speed to drop. Reduced fan speed weakens heat dissipation, leading to a rapid rise in internal temperature. High temperatures accelerate the aging of electronic components, lower the power supply's conversion efficiency, and may even cause malfunctions or safety hazards. Additionally, excessive dust can lead to short circuits inside the power supply, damaging other hardware and causing unnecessary financial losses. Regularly cleaning dust from the power supply fan is therefore a vital step to ensure stable operation and extend the device's lifespan.

Before starting, gather the necessary tools: a screwdriver, compressed air canister, anti-static gloves, a soft brush, and cotton swabs. Choose a clean, spacious, well-lit workspace to avoid secondary contamination or moisture-related risks. Most importantly, turn off the device, unplug the power cord, and ensure the power supply is completely disconnected from electricity to guarantee safety.
The process for removing the power supply cover varies slightly by device. Place the device on a stable surface, locate the screws securing the power supply cover, and use a screwdriver to remove them. Keep the screws in a safe place to avoid loss. Some covers may have plastic clips—gently pry them open and remove the cover without applying excessive force to prevent damaging internal components. If unsure, refer to the device manual or online disassembly tutorials.
Using a Compressed Air Canister: Wear anti-static gloves and hold the canister about 10–15 cm away from the fan blades, heat sinks, and internal corners. Release short bursts of air to blow away dust, keeping the airflow direction consistent to prevent dust from spreading inside. Adjust the nozzle angle for hard-to-reach areas.
Soft Brush and Cotton Swabs for Stubborn Dust: For persistent dirt, gently brush fan blades and heat sinks with a soft brush to loosen debris, then use compressed air to remove it. For tiny gaps or corners, dip a cotton swab in a small amount of isopropyl alcohol (ensure it’s anhydrous to avoid short circuits) and gently wipe away grime. Take care not to apply pressure to electronic components.
After cleaning, check for residual dust and loose components. Reassemble the power supply cover in the reverse order of disassembly, ensuring screws are tightened securely to prevent noise or poor heat dissipation.
Reconnect the power cord and turn on the device. Observe if the fan spins smoothly without unusual noises. Use monitoring software (e.g., Task Manager on Windows) to check if the power supply temperature remains within normal ranges. If the fan doesn’t start or temperatures are excessively high, power off immediately and recheck your work—consult a professional if issues persist.
Static Electricity Protection: Electronic components are highly sensitive to static charges. Always wear anti-static gloves or ground yourself by touching a metal object before handling internal parts to avoid damaging chips or circuits.
No Liquid Contamination: Never use water or moisture-based cleaners, as they can cause short circuits. When using alcohol, limit it to anhydrous isopropyl alcohol and ensure it fully evaporates before reassembly.
Regular Maintenance: The cleaning frequency depends on your environment and usage. In dusty environments or for devices running 24/7, clean every 3–6 months. In cleaner settings, aim for at least once a year.
Professional Assistance: If you encounter severe damage or unresolved issues during cleaning, contact the device manufacturer or a professional technician immediately to avoid further damage.
Regular dust cleaning of power supply fans not only maintains optimal heat dissipation and extends equipment lifespan but also reduces the risk of malfunctions, ensuring uninterrupted work and entertainment. By mastering these safe cleaning methods and precautions, even ordinary users can easily maintain their power supplies. We hope this guide helps you keep your devices running efficiently and safely for years to come.