

Thermal paste is the unsung hero of PC cooling, bridging the microscopic gaps between your processor and its heatsink to maximize heat transfer. Whether you’re building a new PC, replacing an old cooler, or performing maintenance, mastering thermal paste application is crucial for preventing overheating and ensuring stable performance. This guide breaks down the process into clear, actionable steps, supported by expert insights and the latest industry practices.

Thermal paste (or thermal compound) fills irregularities on the surfaces of your CPU’s integrated heat spreader (IHS) and the cooler’s baseplate. Without it, trapped air pockets act as insulators, causing temperatures to spike. Over time, old paste dries out or degrades, leading to reduced efficiency. Proper application can lower CPU temperatures by 5–15°C under load, depending on the paste quality and method used .
Thermal Paste: Choose a high-quality option like Noctua NT-H2 (balanced performance) or Thermal Grizzly Kryonaut (premium conductivity) .
Isopropyl Alcohol (90%+ concentration) and lint-free cloths/cotton swabs for cleaning.
Plastic Spreader (optional) for manual spreading.
Small Screwdriver (for GPU disassembly).
Anti-static Wrist Strap (recommended to avoid ESD damage).
Power off your PC and unplug it. Open the case and remove the CPU cooler. For GPUs, remove the graphics card from the PCIe slot and unscrew the heatsink from the GPU die .
Clean the CPU/GPU surface and cooler base with isopropyl alcohol to remove old paste and debris. Wipe gently in circular motions until no residue remains .
The ideal amount and pattern depend on your CPU/GPU and cooler design. Here are the most effective methods:
Pea-Sized Dot (CPU):
Apply a small blob (~0.3–0.4ml) in the center of the CPU’s IHS. This works best for Intel CPUs and standard coolers, as the pressure from the heatsink spreads the paste evenly .
5-Dot Method (AMD Ryzen):
Place five small dots in a cross shape (center + four corners). AMD recommends this for its convex IHS design, ensuring even coverage .
Line/Cross Method (GPU):
For GPUs, draw a thin line or cross on the die. GPUs often have larger surfaces, and this method prevents spillage when reattaching the heatsink .
Buttered Toast (Advanced):
Spread a thin, uniform layer across the entire surface using a plastic spreader. This is ideal for thick or stiff pastes like liquid metal but requires precision to avoid overflow .
Align the heatsink/cooler with the CPU/GPU and press it down gently. Tighten the mounting screws in a diagonal pattern (e.g., top-left → bottom-right → top-right → bottom-left) to ensure even pressure .
For GPUs, reattach the heatsink and secure the backplate screws. Check for any paste overflow and clean it immediately with a cloth dipped in alcohol .
Power on your PC and use monitoring tools like Core Temp or HWMonitor to check temperatures under load. If you notice 异常高温,recheck the cooler’s alignment or consider reapplying the paste .
Avoid Over-Application:
Too much paste creates a thick, inefficient layer. A pea-sized amount is usually sufficient. Excess paste can spill onto the motherboard, causing short circuits if conductive .
Choose the Right Paste:
Silicone-Based: Safe, easy to apply, and non-conductive (e.g., Arctic MX-4) .
Liquid Metal: Exceptional conductivity but risky for aluminum coolers and requires careful handling (e.g., Alphacool EisFrost Extreme) .
Ceramic/Carbon-Based: Budget-friendly but less effective for high-performance builds .
Clean Thoroughly:
Residual paste or dust between surfaces drastically reduces heat transfer. Use 90%+ isopropyl alcohol and lint-free materials for a pristine finish .
Consider GPU Maintenance:
GPUs also benefit from fresh paste. Replace it every 2–3 years or when temperatures rise. Note that disassembling a GPU may void its warranty .
Ignoring Old Paste: Failing to remove dried paste traps air and reduces cooling efficiency .
Using Metal Tools: Metal spreaders can scratch the CPU/GPU surface. Stick to plastic or the included applicator .
Over-Tightening Screws: Uneven pressure warps the heatsink, creating gaps. Follow the cooler’s torque specifications .
Every 2–5 Years: Depending on usage and environment. Hot, dusty rooms accelerate degradation .
After Cooler Replacement: Always apply fresh paste when changing heatsinks.
High Temperatures: If your CPU/GPU runs hotter than usual under load, it’s time to reapply.
Applying thermal paste is a simple yet critical task that directly impacts your PC’s performance and longevity. By following these steps and choosing the right paste for your needs, you’ll ensure optimal heat dissipation and peace of mind. Remember: less is more when it comes to quantity, and precision beats speed. With practice, you’ll master this skill and keep your hardware running cool for years to come.
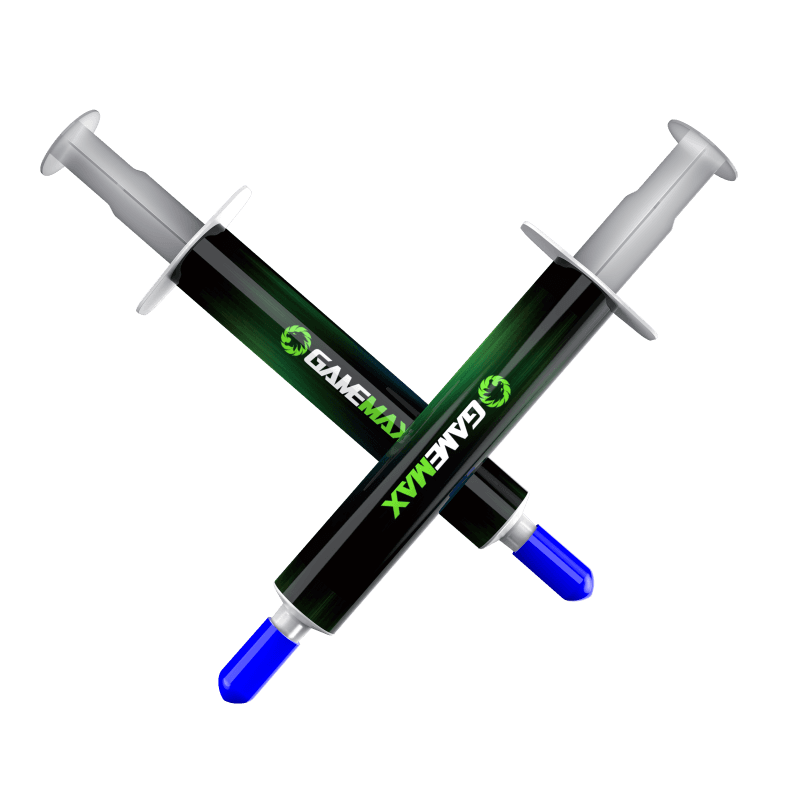
High-performance thermal paste specially designed for overclocking or gaming PCs ,Comes with 3g thermal paste that is easy to apply and perfectly fills the space between your cooler and CPU
• Nanotechnology in the paste improves heat conduction via its micro molecules
• Made with non-electric conductive materials, this thermal paste is completely safe to use
• Comes with a spreader for quick and easy application.
• Nano Grease made with nanotechnology offering superior tehermal conductivity
• Increasing the performace of CPU and VGA coolers
• Non-electric conductive materials ensure safe usage
• Low evaporation point and high temperature tolerance
• Spreader allows for quick and easy application
• Comes with 3 grams of thermal paste

