

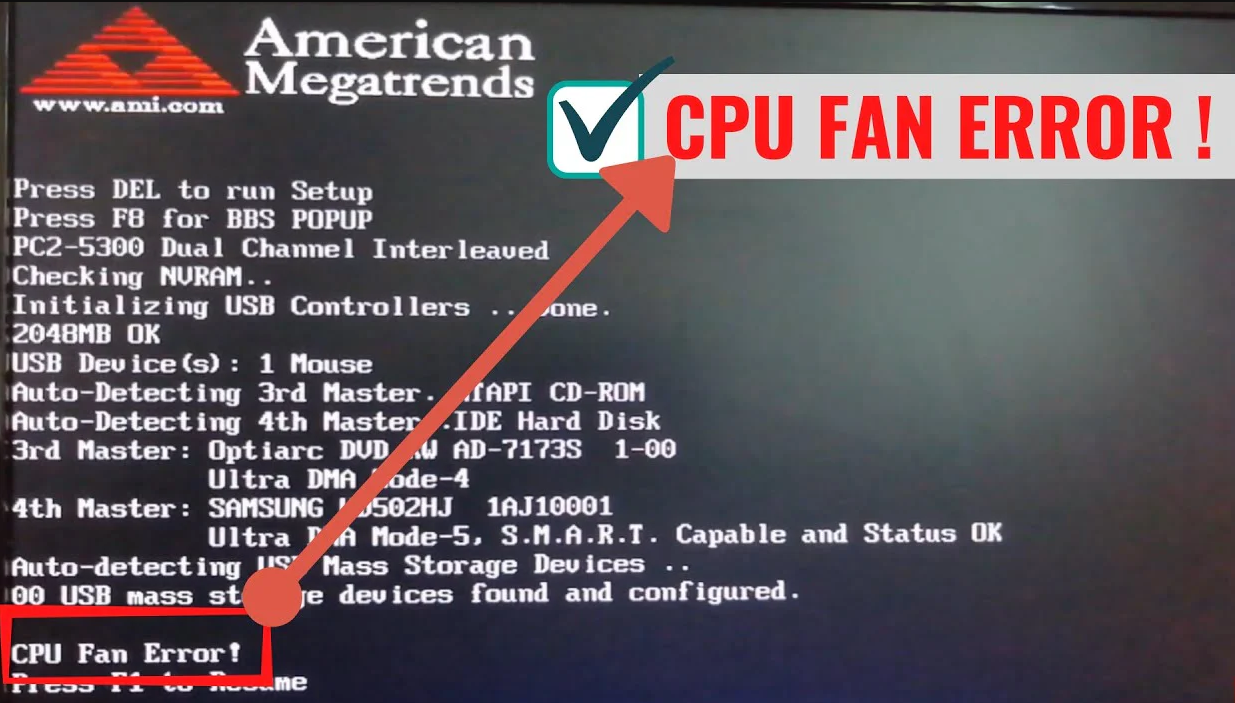
If you've ever turned on your computer and seen an error message like "CPU Fan Speed Detection Error" or "CPU Fan Error" during the boot process, don't panic! This is a common issue that even beginners can resolve with some simple steps. In this guide, we'll break down the possible causes of this error and walk you through easy-to-follow solutions to get your computer running smoothly again.
Before jumping into fixes, let's understand why this error occurs. The CPU fan is crucial for cooling your processor, and your motherboard's BIOS (Basic Input/Output System) constantly monitors its speed. When the BIOS can't detect the fan's speed correctly, it triggers an error. Common reasons include:
Loose or disconnected fan cables: The fan's power cable might not be properly plugged into the motherboard.
Dust and debris buildup: Over time, dust can slow down the fan or block the sensor.
BIOS settings: Incorrect fan speed monitoring settings in the BIOS.
Faulty fan or motherboard sensor: Rarely, the fan itself might be failing, or the motherboard's sensor is damaged.
Important: Always unplug your computer or turn off the power supply before working inside the case to avoid electrical damage.
Open the computer case: Depending on your case type, remove the side panel (usually held by screws or clips).
Locate the CPU fan: It's the small fan sitting on top of the CPU cooler (a metal heatsink with fins).
Check the fan cable: Ensure the 3-pin or 4-pin power cable is firmly plugged into the motherboard's CPU fan header (labeled "CPU_FAN" or similar, usually near the CPU). Gently wiggle it to make sure it's secure. If there's a second cable (for RGB lighting, for example), ensure that's connected too, though it's not related to speed detection.
Inspect for damage: Look for frayed wires or bent pins on the connector. If you see damage, you might need to replace the cable or fan.
Pro Tip: If your fan uses a 4-pin connector, it supports PWM (Pulse Width Modulation) for automatic speed control. Make sure it's plugged into a 4-pin header if your motherboard supports it.
Dust is a silent killer for fans. A dirty fan can spin slower, causing the BIOS to detect an incorrect speed.
Use compressed air: Gently blow air into the fan blades and the heatsink fins to remove dust. Hold the fan blades steady with your finger while blowing to prevent them from spinning backward (this could damage the motor).
Wipe gently: For stubborn dust, use a soft brush or a microfiber cloth. Avoid using liquid cleaners near the electronics.
Test the fan: After cleaning, plug in the power and turn on the computer without closing the case (keep it unplugged during cleaning!). Listen if the fan spins smoothly. A noisy or jerky fan might be failing.
Sometimes the BIOS settings for fan monitoring are too strict or misconfigured.
Enter the BIOS/UEFI: Restart your computer and press the key shown on the boot screen (usually Del, F2, F10, or F12—check the bottom of the screen for the prompt).
Navigate to the "Monitor" or "Hardware" section: Look for options like "CPU Fan Speed," "Fan Configuration," or "PC Health Status."
Check fan detection settings:
Ensure "CPU Fan Detection" is enabled.
If there's an option to set a minimum fan speed threshold, make sure it's not set too high (default values are usually best for beginners).
For older motherboards, there might be a "Fail Safe" option—resetting to default BIOS settings (often called "Load Optimized Defaults") can fix misconfigured settings. This is usually found in the main BIOS menu.
Save and exit: Press F10 to save changes and restart the computer.
If the BIOS steps didn't work, software tools can help check if the fan is actually working.
Download a monitoring tool: Try free programs like SpeedFan or HWMonitor. These show real-time fan speeds and temperatures.
Check the CPU fan speed: If the software shows "0 RPM" or a consistently low speed while the fan is spinning, the motherboard might not be detecting it correctly (common with 3-pin fans on some motherboards that expect 4-pin PWM).
Optional: Disable fan error warnings (not recommended long-term): Some motherboards let you disable the fan error message in the BIOS, but this is a temporary fix. The fan is still critical for cooling—only do this if you're sure the fan is working but the sensor is faulty, and plan to replace the hardware soon.
If none of the above steps work, the fan itself might be failing.
Buy a new CPU fan: Choose a model compatible with your CPU socket (e.g., LGA 1700, AM4) and motherboard fan headers. Budget options like the Cooler Master Hyper 212 are great for beginners.
Install the new fan: Follow the manufacturer's instructions to remove the old fan, apply new thermal paste (if needed), and connect the new fan's power cable correctly.
Contact a professional: If you suspect the motherboard's sensor is faulty, this is a more complex issue. A technician can test the motherboard or help you replace it if necessary.
Double-check connections: Even experienced users sometimes miss a loose cable.
Test with a different fan header: Plug the fan into a different header (e.g., "SYS_FAN" instead of "CPU_FAN"—note that this might disable speed control, but it tests if the header is faulty).
Update BIOS firmware: Rarely, an outdated BIOS can cause compatibility issues. Check your motherboard manufacturer's website for updates (this is more advanced—follow their guide carefully).
Take photos: Before moving cables or components, take pictures of your computer's interior. This helps you remember where everything goes.
Don't force anything: If a cable or component doesn't fit, check for latches or alignment instead of pulling/pushing hard.
Stay calm: Hardware issues are common, and most fixes are simple once you know where to look.
By following these steps, you've just tackled a CPU fan speed error like a pro! Remember, your CPU fan is vital for preventing overheating, so always ensure it's working correctly. If you ever feel unsure, there's no shame in asking for help—tech communities and forums are full of friendly people ready to assist. Happy troubleshooting!

