

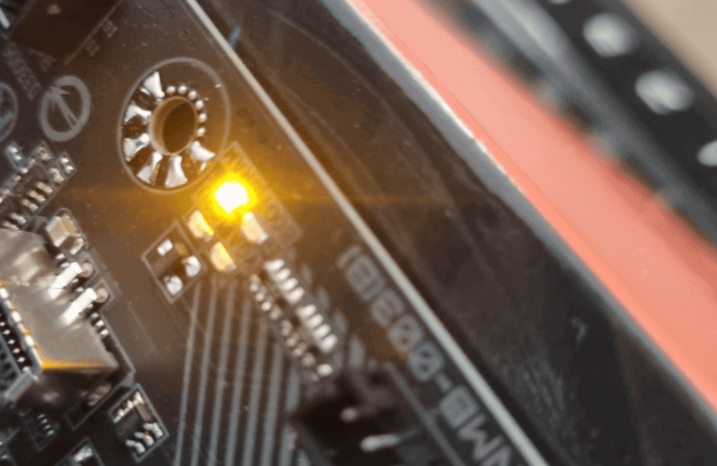
If you've powered on your PC only to be greeted by a glowing DRAM light on your motherboard, don't panic. This is a common issue that can be resolved with some troubleshooting. The DRAM light, typically found near the RAM slots on your motherboard, serves as an indicator of a problem with your computer's Random Access Memory (RAM). When this light is on, it means that your motherboard is having trouble detecting or communicating with your RAM modules. Here are some steps to help you fix this problem.
The simplest and often overlooked cause of the DRAM light issue is a loose RAM module. Turn off your PC and unplug the power cable to avoid any electrical accidents. Open your computer case and locate the RAM sticks. They are usually long, rectangular modules inserted into slots on the motherboard. Gently push down on each RAM module to ensure it is fully seated in its slot. You should hear a clicking sound when the module is properly inserted, and the retention clips on the sides of the slot should snap into place. If possible, remove the RAM modules completely and then reinsert them, taking care to handle them by the edges to avoid touching the delicate components.
Over time, dust and oxidation can build up on the RAM's gold contacts (also known as the gold fingers), which can cause connection problems. To clean the gold fingers, take a soft, clean eraser (like a pencil eraser) and gently rub the gold contacts on each side of the RAM module. This will remove any dirt, grime, or oxidation that may be interfering with the connection. After erasing, use a can of compressed air to blow away any eraser debris that may have accumulated. Be sure to do this in a well - ventilated area, and hold the can upright to avoid spraying liquid on the module.
If you have multiple RAM modules installed in your PC, the problem could be with a single module. Remove all but one RAM module from the motherboard. Insert the remaining module into the slot recommended in your motherboard's manual for single - module operation (usually the slot closest to the CPU). Power on your PC and see if the DRAM light stays off. If the PC boots up successfully, turn it off, unplug it, and repeat the process with each of the other RAM modules one by one. This will help you identify if one of the modules is faulty. If the DRAM light remains on with a particular module, that module may be defective and will likely need to be replaced.
Your motherboard is designed to work with specific types and speeds of RAM. Using incompatible RAM can cause the DRAM light to come on. Check your motherboard's manual or the manufacturer's website to find out the exact RAM specifications it supports. This includes the type of RAM (such as DDR4 or DDR5), the maximum supported speed (e.g., 3200MHz), and the maximum capacity per slot and total capacity for the motherboard. If you've recently installed new RAM and the DRAM light started glowing, it's possible that the new RAM is not compatible with your motherboard. If this is the case, you may need to purchase RAM that meets the motherboard's requirements.
The Complementary Metal - Oxide - Semiconductor (CMOS) stores the BIOS settings for your motherboard, including those related to the RAM. Sometimes, incorrect or corrupted BIOS settings can cause the DRAM light issue. To reset the CMOS, you can either use the CMOS jumper on the motherboard or remove the CMOS battery.
Using the CMOS Jumper: Locate the CMOS jumper on your motherboard. It is usually labeled "CMOS", "CLR_CMOS", or something similar. It is a three - pin jumper, and by default, a small plastic cap connects pins 1 and 2. To reset the CMOS, turn off your PC, unplug it, and move the cap to pins 2 and 3 for a few seconds. Then move the cap back to its original position (pins 1 and 2).
Removing the CMOS Battery: If your motherboard doesn't have a CMOS jumper or if you prefer this method, turn off and unplug your PC. Open the case and locate the CMOS battery. It is a small, round, silver - colored battery similar to a watch battery. Use a small flat - head screwdriver to gently pry the battery out of its holder. Leave the battery out for about 5 - 10 minutes. Then, reinsert the battery, making sure the positive side (+) is facing up.
After resetting the CMOS, power on your PC. The BIOS will load its default settings, which may resolve the DRAM light problem. You may need to re - enter any custom BIOS settings you had previously, such as overclocking settings or boot device preferences.
An outdated BIOS may not be fully compatible with your installed RAM, especially if you've recently upgraded your RAM to a newer model. Check the motherboard manufacturer's website for the latest BIOS version for your motherboard model. Download the BIOS update file, which is usually in a specific format (such as a .CAP file for some motherboards). Follow the manufacturer's instructions carefully to update the BIOS. This may involve using a USB drive to flash the BIOS or using a built - in BIOS update utility within the BIOS itself. Updating the BIOS can sometimes fix compatibility issues and allow your motherboard to properly detect and work with your RAM. However, be extremely careful when updating the BIOS, as a failed update can render your motherboard unusable.
If you've tried all the above steps and the DRAM light is still on, there may be hardware damage. Inspect the RAM modules for any visible signs of damage, such as burned - out components, discolored areas, or bent pins. Also, check the RAM slots on the motherboard for any bent or damaged pins. If you find any damaged components, the affected part (either the RAM module or the motherboard) may need to be repaired or replaced. In some cases, a faulty memory controller on the CPU or motherboard could be the culprit. If you suspect this is the case, it may be best to take your PC to a professional technician for further diagnosis, as diagnosing and repairing a faulty memory controller can be a complex process.
By following these steps, you should be able to identify and fix the "dram light on motherboard" error. Remember to be patient and methodical in your troubleshooting, as this will increase your chances of getting your PC back up and running smoothly.

