

When building a custom PC, one of the most critical and often overlooked aspects is cable management. Not only does proper cable management improve the aesthetic appearance of your build, but it also plays a significant role in airflow, cooling efficiency, and overall system performance. Proper cable management can make your PC easier to maintain and upgrade, and it can prevent cables from obstructing airflow, which could lead to overheating and hardware failure. In this article, we will explore how to manage internal cable routing effectively, ensuring a neat and efficient setup that enhances the overall performance and aesthetics of your PC.
Before we dive into the steps and techniques for effective cable management, let’s first understand why cable management is essential for your PC.
One of the primary reasons for good cable management is improved airflow. In a cluttered case, cables can obstruct the flow of air from your intake and exhaust fans, creating hot spots inside the case. These hot spots can cause thermal throttling, where your CPU or GPU slows down to avoid overheating. By routing cables neatly and out of airflow paths, you create unobstructed space for cool air to enter and hot air to exit the case, improving cooling efficiency.
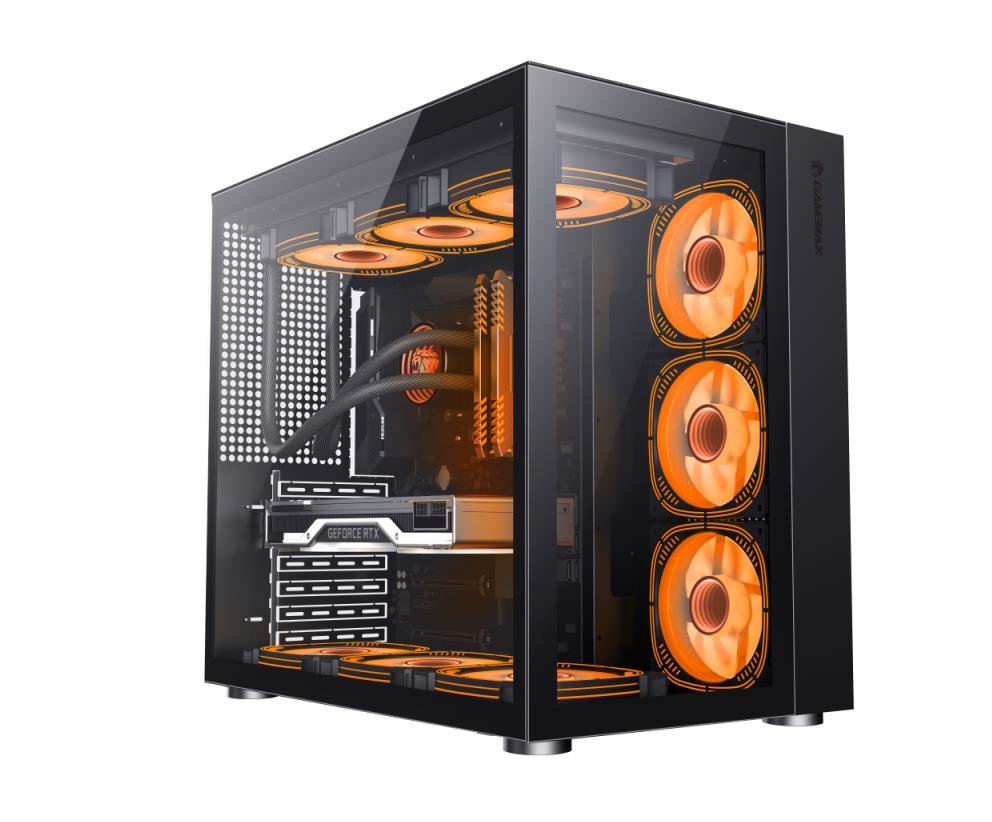
A clean, well-organized build looks professional and can be a source of pride for PC enthusiasts. A messy tangle of cables can make your PC look chaotic and unprofessional. Whether you’re showcasing your build at a LAN party or simply want a cleaner workspace, neat cable management is key to a visually appealing setup.
Well-managed cables make it much easier to upgrade components or troubleshoot hardware issues. When cables are routed cleanly, it’s easier to identify problems, replace components, or add new hardware. If cables are obstructing other parts or tangled, it can be difficult to perform any of these tasks, leading to frustration.
Cables that are improperly routed can experience unnecessary stress, friction, or tension, which can damage the cable over time. For example, if a cable is constantly pressed against a sharp edge or bent at an extreme angle, it can wear out the wire inside and result in malfunction or failure. Proper cable management minimizes these risks.
Now that we understand why cable management is important, let’s explore how you can achieve clean and efficient internal cable routing. Here are some essential tips and techniques.
Cable management should begin before you even install the components. Planning ahead will ensure that you route cables through the right channels and avoid unnecessary tangles.
Visualize airflow: Always consider the airflow within your case. Plan to route cables along the edges or behind the motherboard tray to keep them away from the main airflow path.
Identify cable lengths: Make sure you have the right length of cables for your build. Too-long cables can cause clutter, while too-short cables may be stretched and put under stress.
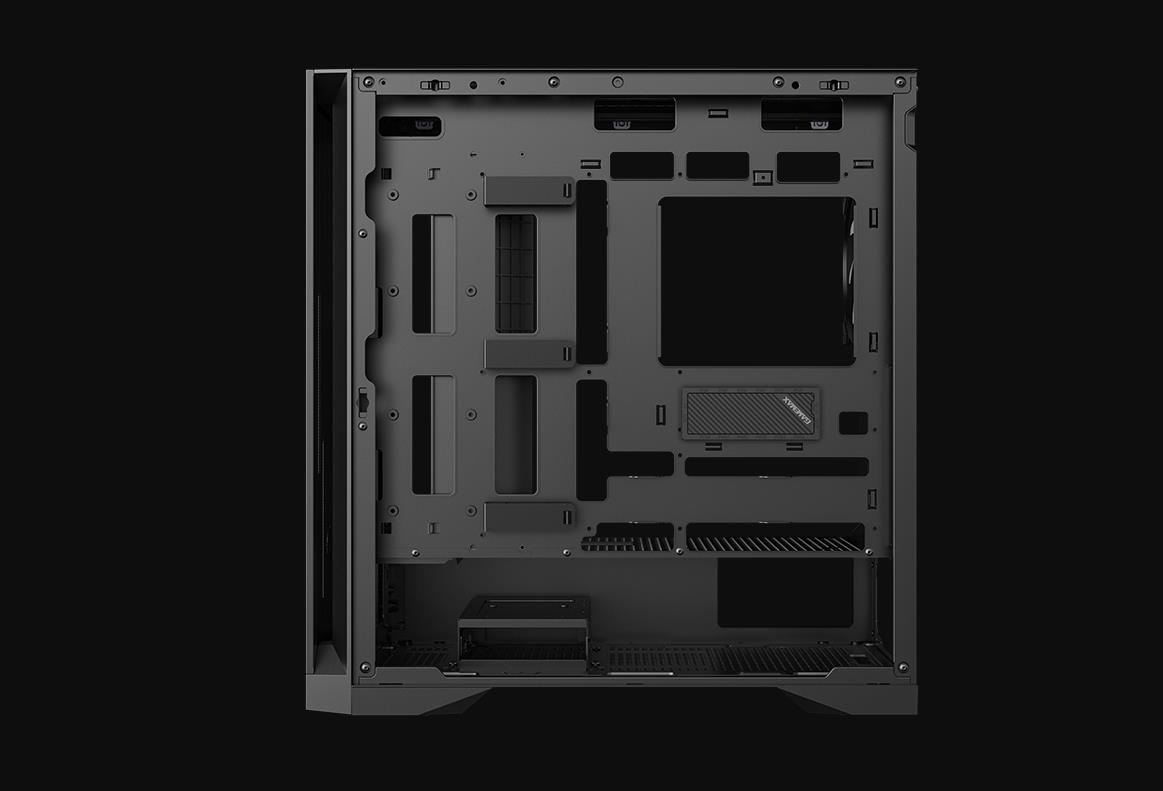
Most modern PC cases come with built-in cable management holes and grommets to guide cables neatly behind the motherboard tray or through different sections of the case. These holes allow you to route cables out of sight, helping to maintain a clean look and improving airflow.
Motherboard tray routing: Utilize the space behind the motherboard tray for most of your cables. This area is often the best place to route power cables, SATA cables, and front panel connectors.
Grommet protection: If your case has grommets around the cable management holes, take advantage of them to prevent cables from rubbing against sharp edges, which could lead to wear or damage.
To keep cables together and prevent them from tangling, use cable ties, Velcro straps, or zip ties. These tools help group cables together and keep them in place. When using cable ties, make sure they are not too tight, as this can damage cables.
Velcro straps: These are reusable and are a great option if you want to periodically modify or change your cables. They are particularly useful for organizing groups of cables that run through the same area.
Cable management bars: Some cases come with built-in cable management bars or hooks. These allow you to secure cables along the case’s sides, keeping them neatly in place.
When possible, choose a modular power supply unit (PSU). A modular PSU allows you to attach only the cables you need, reducing unnecessary clutter. Non-modular power supplies come with all cables attached, even those you don’t require, which can lead to excess cable clutter inside the case.
Semi-modular PSUs: These PSUs allow for some cables to be detachable, giving you more flexibility in choosing which cables to install, while still keeping some cables permanently attached.
The best place to hide your cables is usually behind the motherboard tray. Many cases offer a back compartment for this purpose, providing an unobstructed space where you can run your cables. This helps to keep cables out of sight and prevents them from blocking airflow.
Cable cutouts: Use the cutouts in the motherboard tray to route power cables, data cables, and other connectors to their destinations, such as your GPU, storage drives, and other components.
Avoid bending cables at sharp angles, as this can damage them over time. Instead, try to maintain smooth curves and gentle bends to reduce stress on the cables. For example, use cable sleeves or tubing to prevent cables from tangling or breaking under pressure.
Cable combs: If you're using sleeved cables, consider using cable combs to help maintain a uniform look and prevent cables from becoming tangled.
If you have a lot of cables, especially in complex builds, labeling each cable can make it easier to identify them later. For example, labeling the power cable for the CPU, GPU, or storage drive can save you time during maintenance or upgrades.
Cable labels: You can use simple stickers or pre-made cable labels to mark each cable, or purchase custom cable labeling kits that provide clear labels for each connector.
Some cases come with built-in cable management features like cable channels, Velcro straps, and removable cable management trays. Take full advantage of these features to keep your build tidy.
Cable management trays: Some high-end cases feature removable trays that make it easier to route and hide cables. These trays allow you to organize cables in a way that minimizes clutter.
While cable management can seem straightforward, there are some common mistakes that builders often make. Here are a few to watch out for:
It might be tempting to stuff all cables behind the motherboard tray, but if you overcrowd the compartment, it can block airflow and put unnecessary pressure on your cables. Leave some space to allow for proper airflow.
Using cables that are too long or too short can result in messiness and tension. Always plan for the right cable length to minimize slack while ensuring the cable isn’t stretched too tight.
Failing to use cable ties or Velcro straps can lead to cables becoming tangled or obstructing airflow. Always secure cables with ties or straps to keep them neat and organized.
Proper cable management is an essential part of building a clean, efficient, and high-performance PC. By following the tips in this guide, you’ll be able to route cables neatly, reduce airflow obstruction, and create a visually appealing build. Not only will this improve your system’s performance, but it will also make it easier to maintain, troubleshoot, and upgrade your components in the future.
Good cable management can make all the difference in your PC build, and with a little planning and effort, you can create a system that looks as good as it performs.

