

Formatting a USB drive fixes errors, erases data, or optimizes compatibility. Whether you use Windows 11, 10, or a Mac, follow these steps for a smooth process. Always back up files first—formatting erases all data.

Connect the USB drive to your PC. Wait for Windows to detect it.
Open File Explorer (Win + E), then find the drive under “This PC.”
Right-click the drive and select Format.
Choose settings:
File System: Pick exFAT (cross-platform), NTFS (Windows-only, large files), or FAT32 (older devices, 4GB file limit).
Volume Label: Name the drive (e.g., “My USB”).
Check Quick Format (faster) unless fixing errors.
Click Start, then OK to confirm. Wait for completion.
Open Disk Management (Win + X > Disk Management).
Find your USB drive under “External” (check size to avoid mistakes).
If uninitialized: Right-click the drive > Initialize Disk > Choose “GPT” > OK.
Right-click the drive’s partition > Format.
Select file system and label, then click OK.
Connect the USB drive—it will appear on the desktop or in Finder.
Open Disk Utility (use Spotlight: Cmd + Space > type “Disk Utility”).
Select the USB drive under “External” in the sidebar.
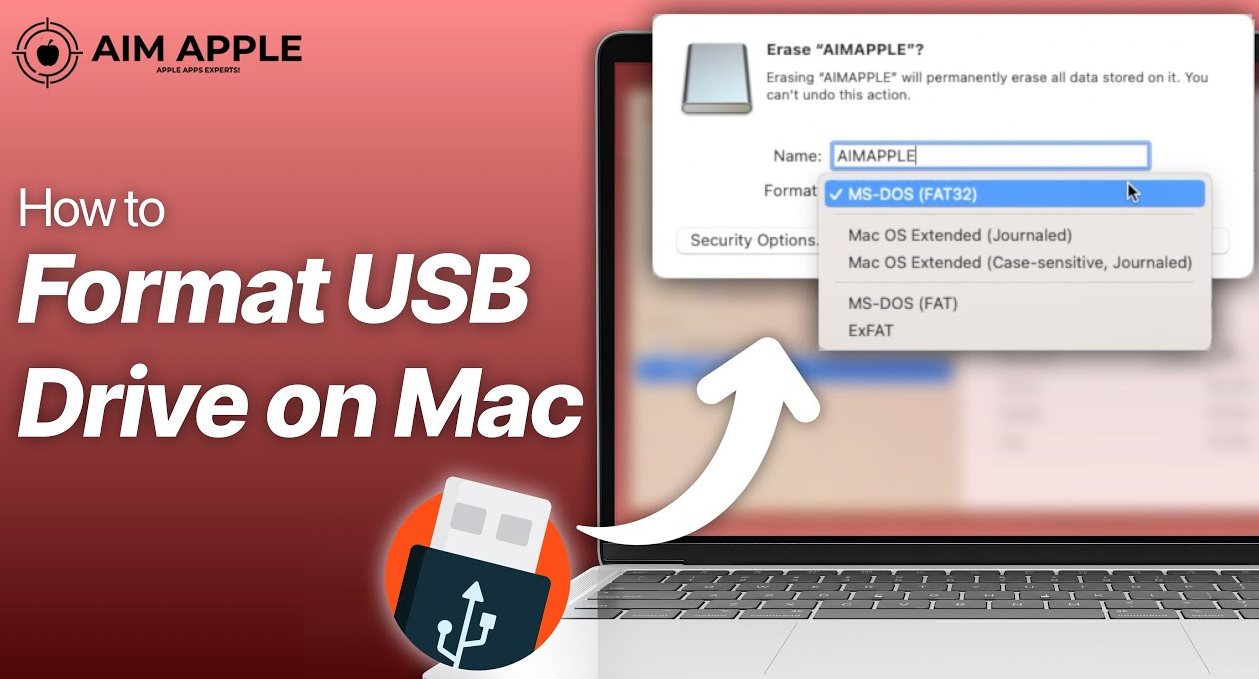
Click Erase (Mac’s term for format).
Set options:
Name: Enter a label.
Format: Choose exFAT (cross-platform), APFS (Mac-only), or MS-DOS (FAT) for FAT32.
Scheme: Select “GUID Partition Map”.
Click Erase > confirm. Eject safely when done (drag to Trash).
Back up first: Copy files to another device to avoid loss.
Eject safely: Right-click > “Eject” (Windows) or drag to Trash (Mac) before unplugging.
Choose the right format: ExFAT works for Mac and Windows; avoid FAT32 for files over 4GB.
Drive not formatting? Use Disk Management (Windows) or try a different USB port.
Not showing up? Restart your computer or check for driver updates (Windows).
Slow formatting? “Quick Format” is faster—only skip it for error fixing.
By following these steps, you’ll format your USB drive safely and ensure it works with your devices.

